
Fast route
Quick Guide
- Enter Slateport City from Route 109 and heal.
- Visit the Shipyard and speak to Dock about Captain Stern.
- Return to the Oceanic Museum after the Team Aqua line moves inside.
- Go upstairs, speak to Stern and defeat both Aqua Grunts.
- Finish the Archie scene and deliver the Devon Goods.
- Prepare before approaching Lucious on the eastern waterfront beside the Shipyard.
- Defeat Lucious, then leave Slateport through the north exit to Route 110.
- Enter the Trick House if you want to complete its optional first challenge.
Slateport City
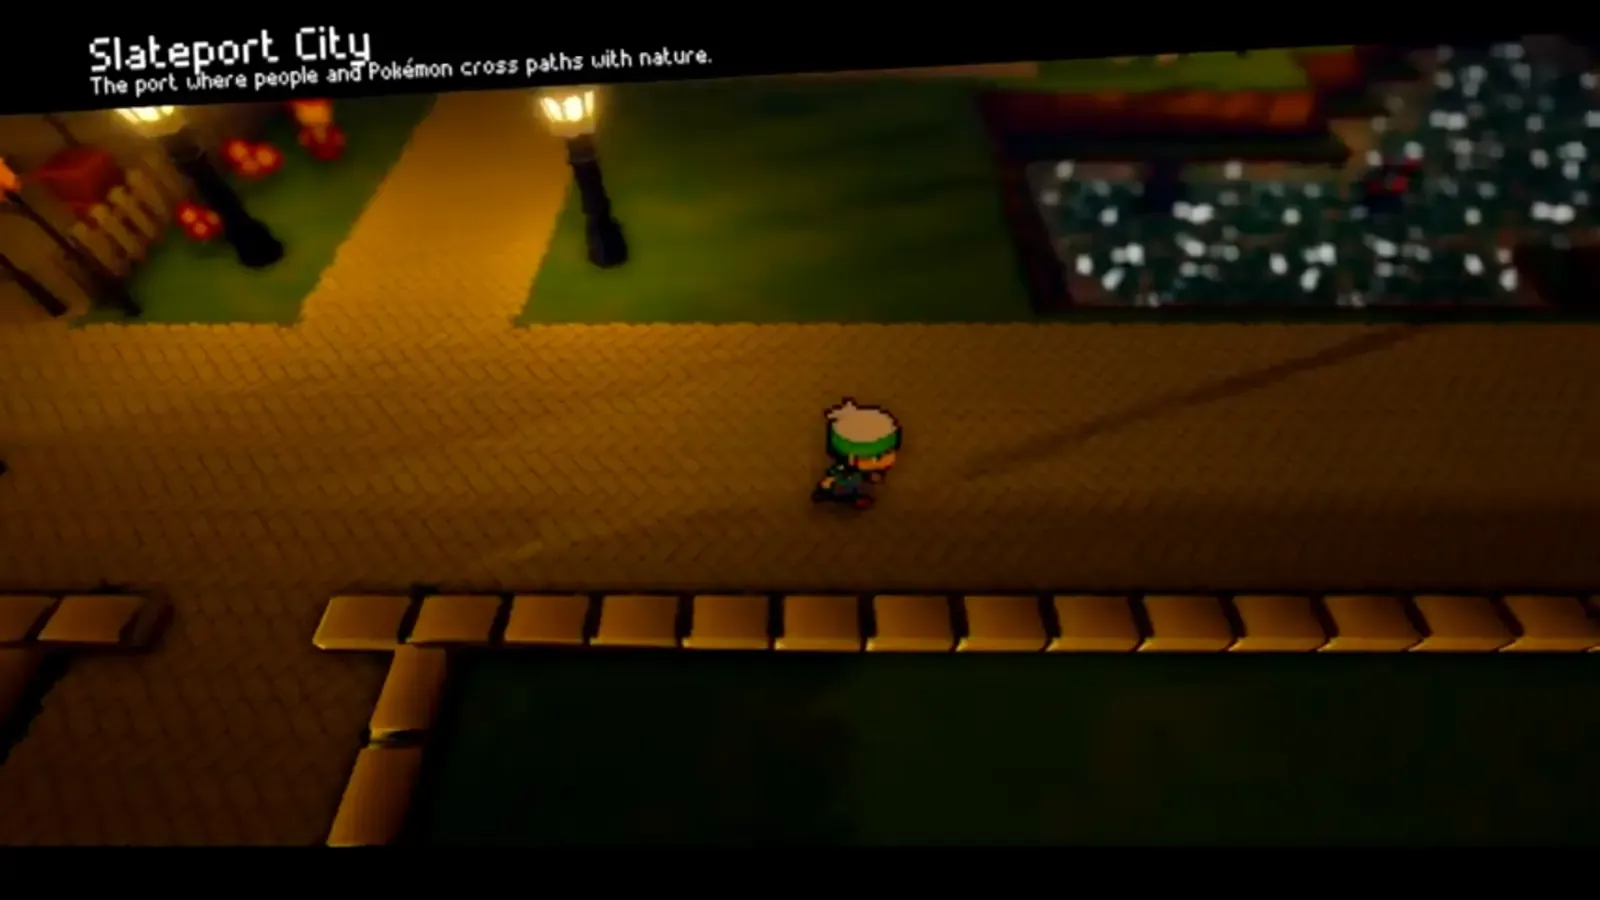
Cross Route 109’s beach and follow the sandy path into Slateport. You enter beside the market district; the Pokemon Center is close to the main road and should be your first stop before carrying the Devon Goods farther.
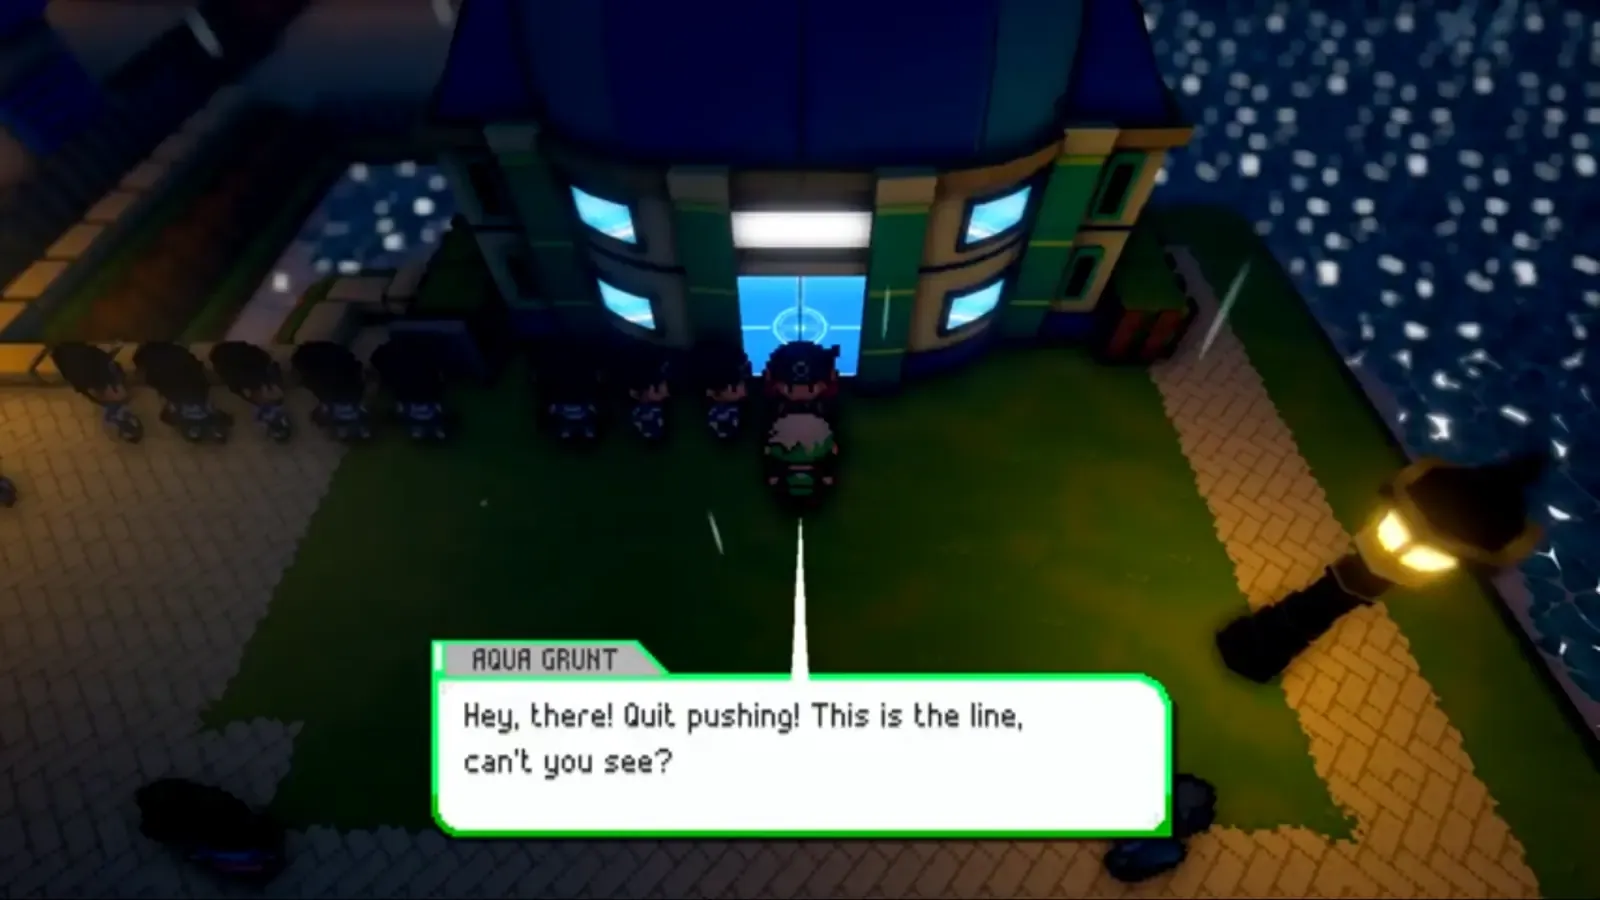
A long line of Team Aqua Grunts blocks the Oceanic Museum entrance. Do not wait for them to move. Their presence tells you that Captain Stern is involved, but the next trigger is inside the Shipyard southeast of the Museum.

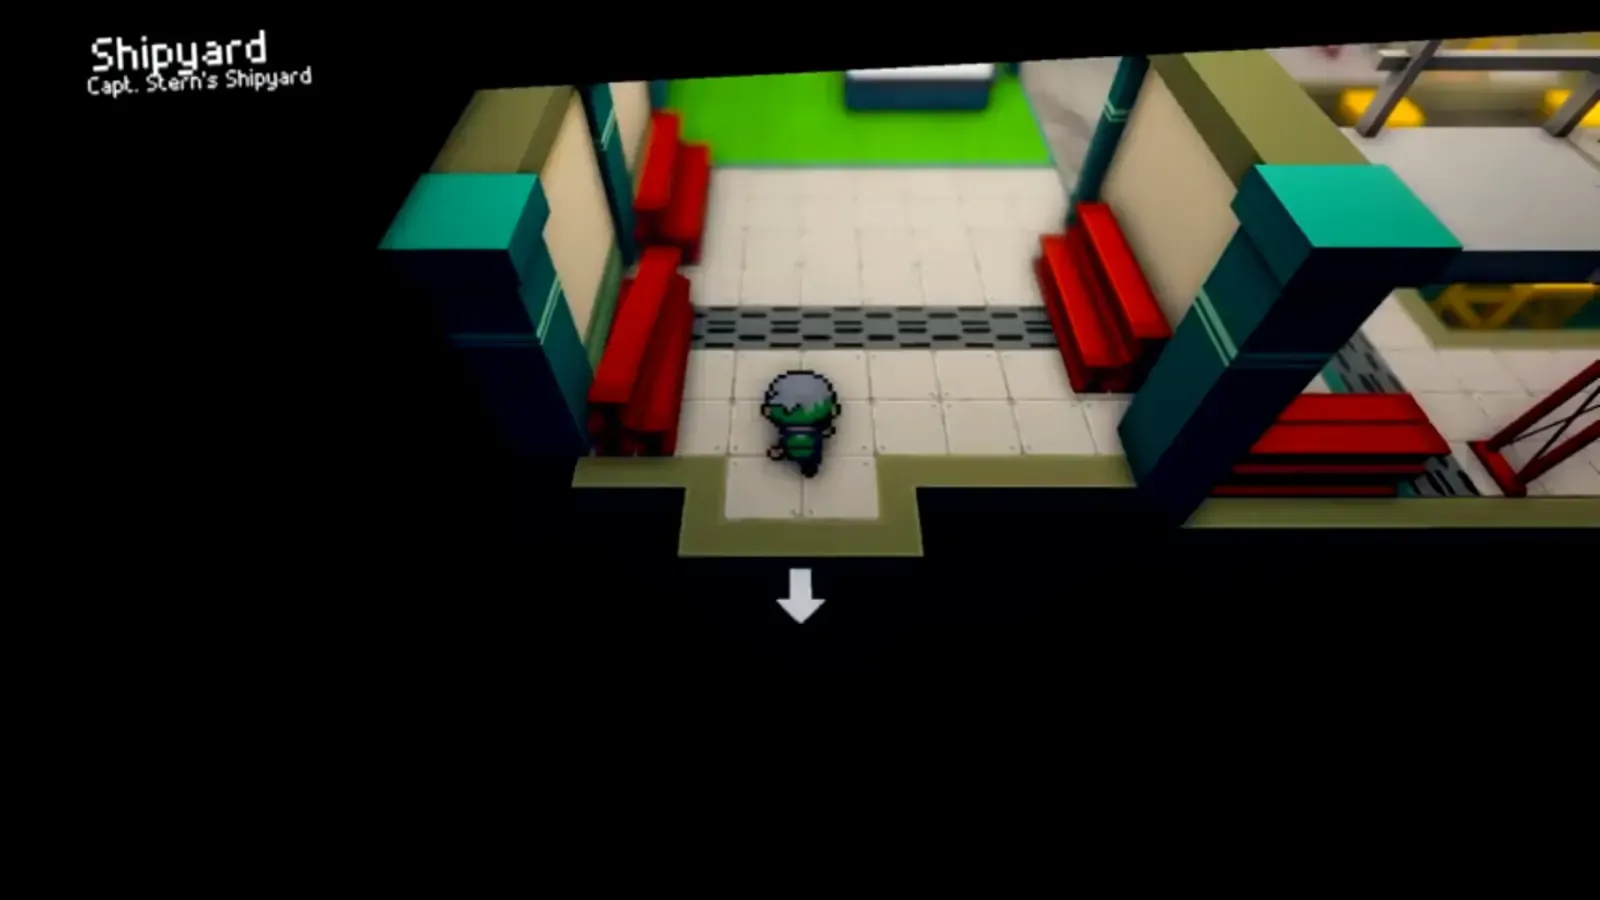
Slateport Shipyard
Enter the Shipyard and speak to Dock among the worktables. He recognizes the Devon delivery but explains that Captain Stern is away. Finish the conversation before returning outside; this is the event that changes access to the Museum.
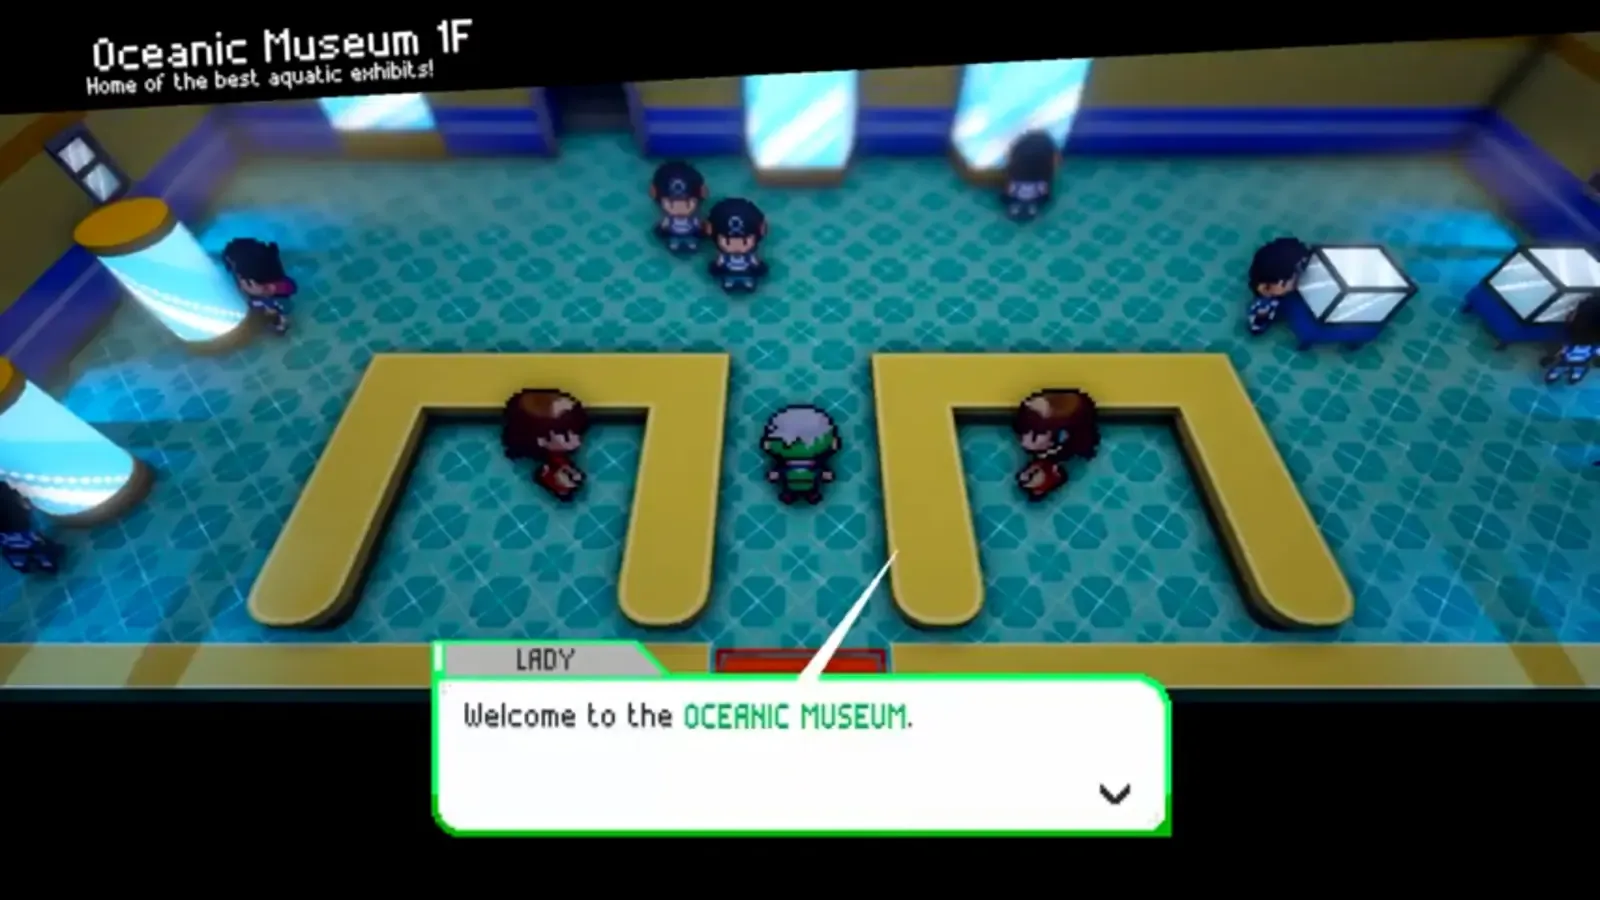
Walk back north to the Oceanic Museum. The Aqua line has moved through the entrance, so the building can now be entered. Heal first if needed because two required battles occur upstairs without a trip back to the Pokemon Center.
Oceanic Museum and Team Aqua
Pay the entrance fee if prompted and cross the Museum’s first floor. Team Aqua Grunts are spread around the exhibits, but the required target is upstairs. Captain Stern stands beside the table display on the second floor and identifies the Devon parts when you speak to him.
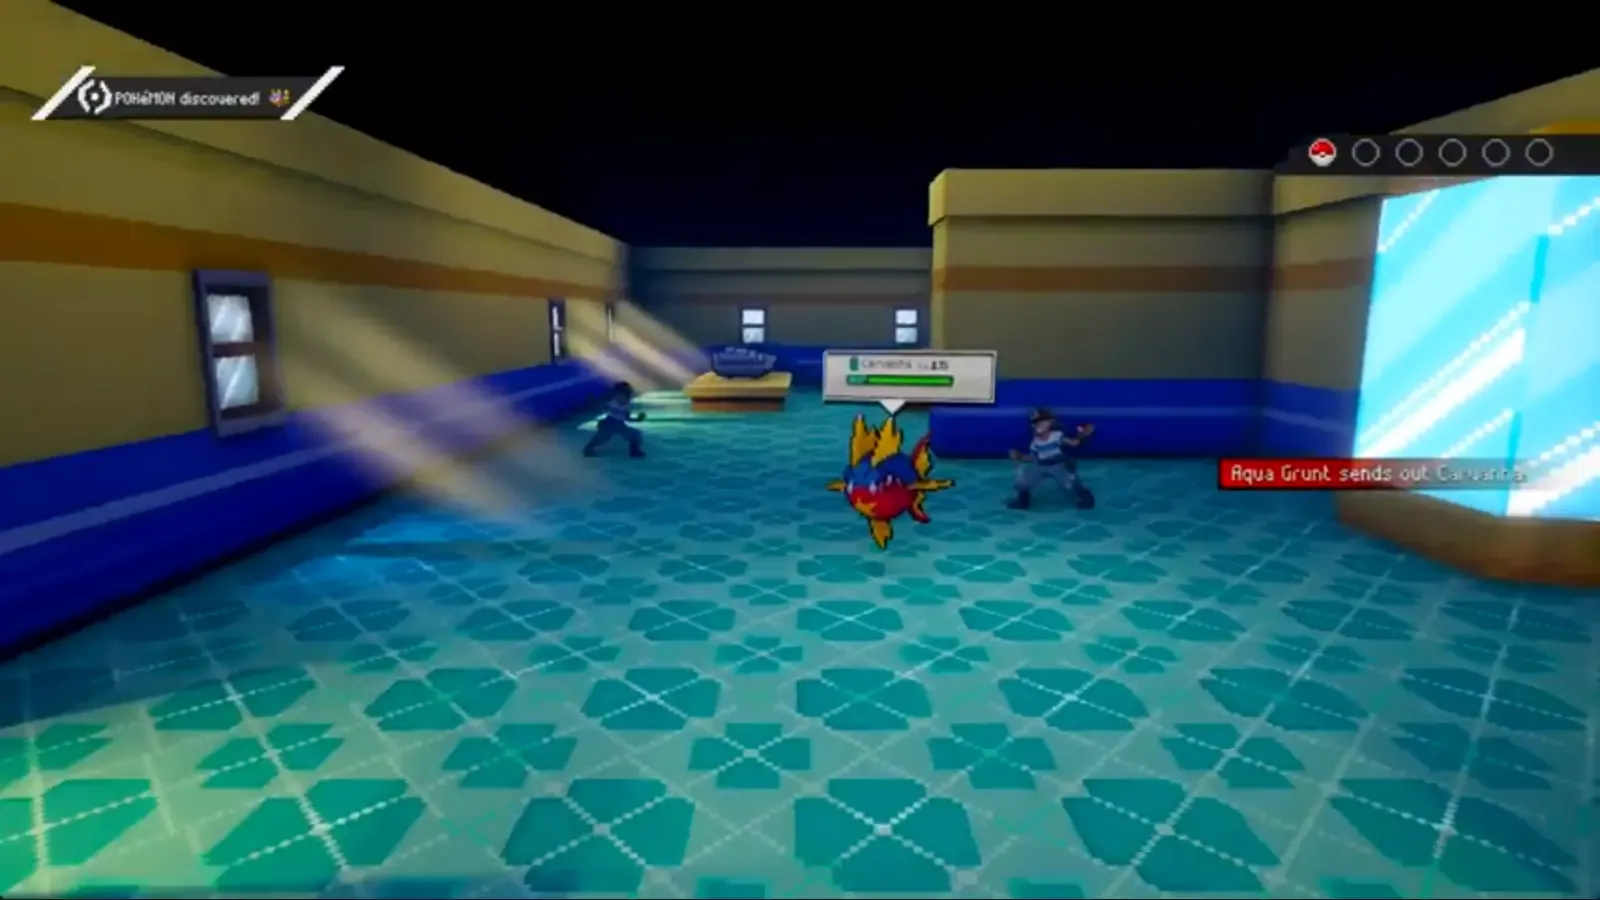
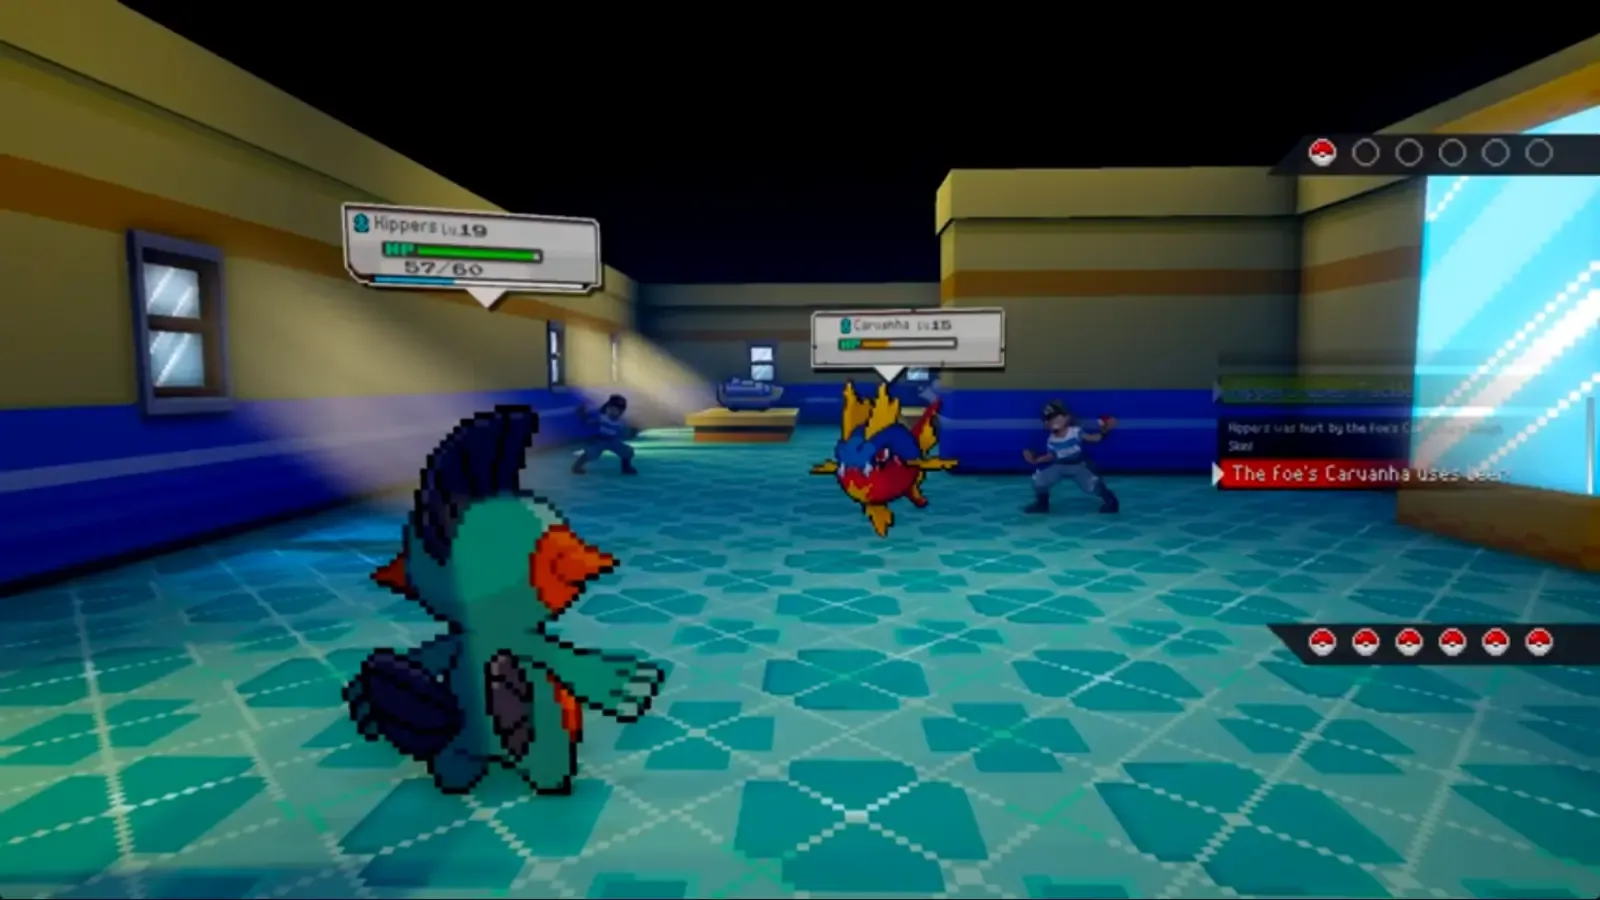
The delivery is interrupted by two Team Aqua Grunts. Defeat the first, then prepare for the second to step in immediately. Carvanha appears during these battles, so keep a healthy answer ready before speaking to Stern.
Archie appears after both Grunts lose. He warns you not to interfere again, then Team Aqua leaves and Stern accepts the Devon Goods. The package remains a clear story objective until this conversation finishes.

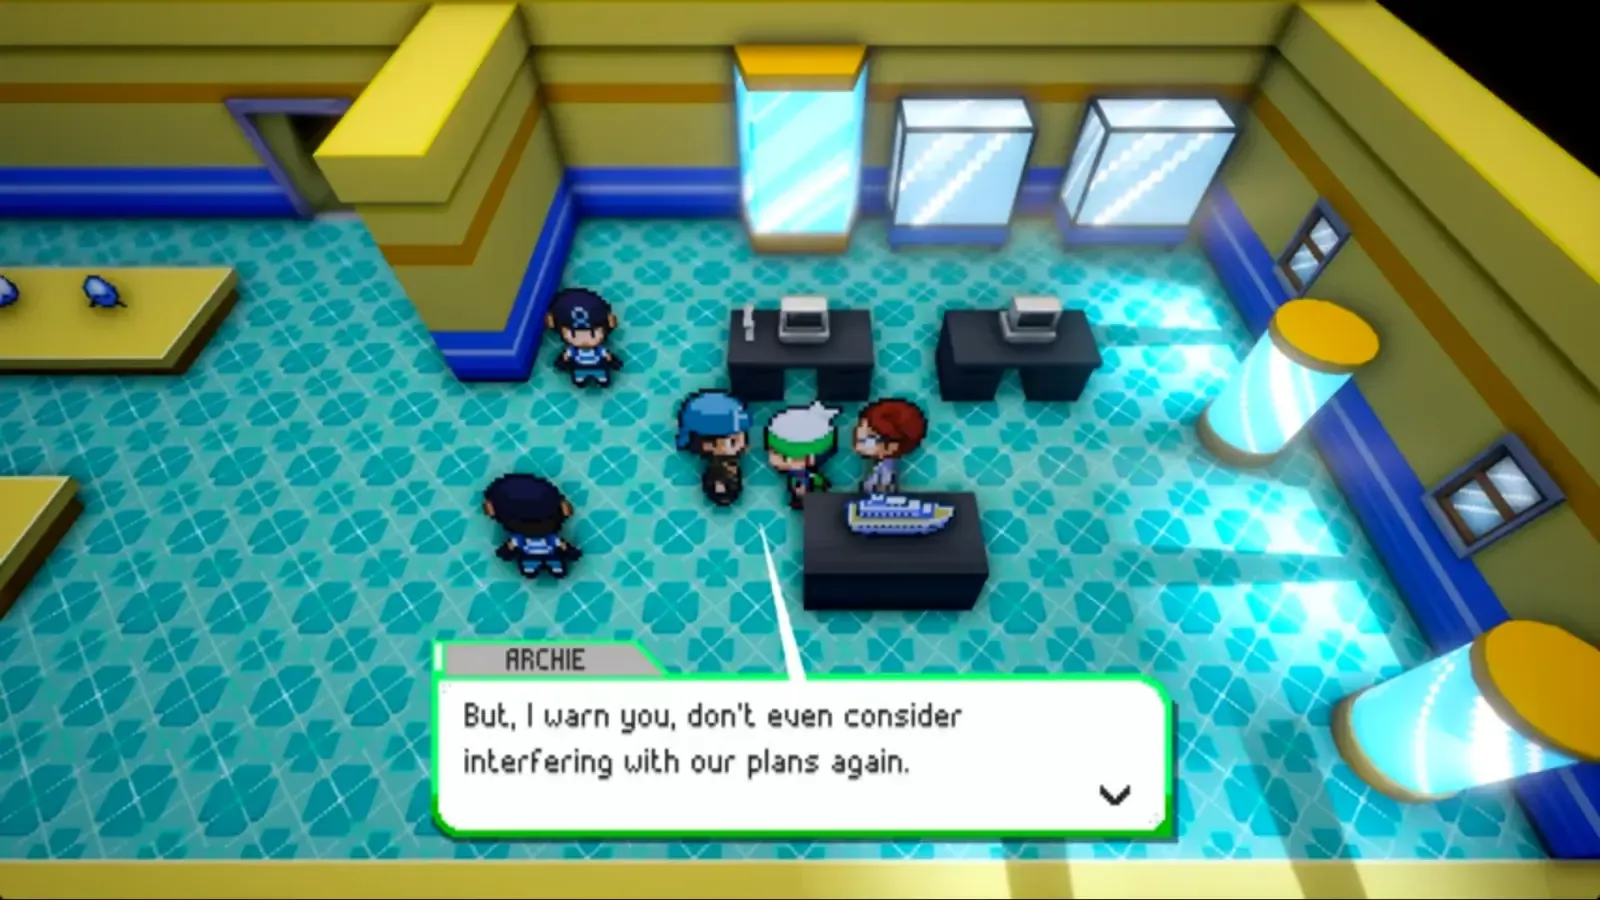
Before Leaving the Oceanic Museum
Walk back downstairs before leaving. The Grunt who remembers the Rusturf Tunnel battle gives you TM46 Thief when spoken to, providing a useful reward that is easy to miss once the story points north.
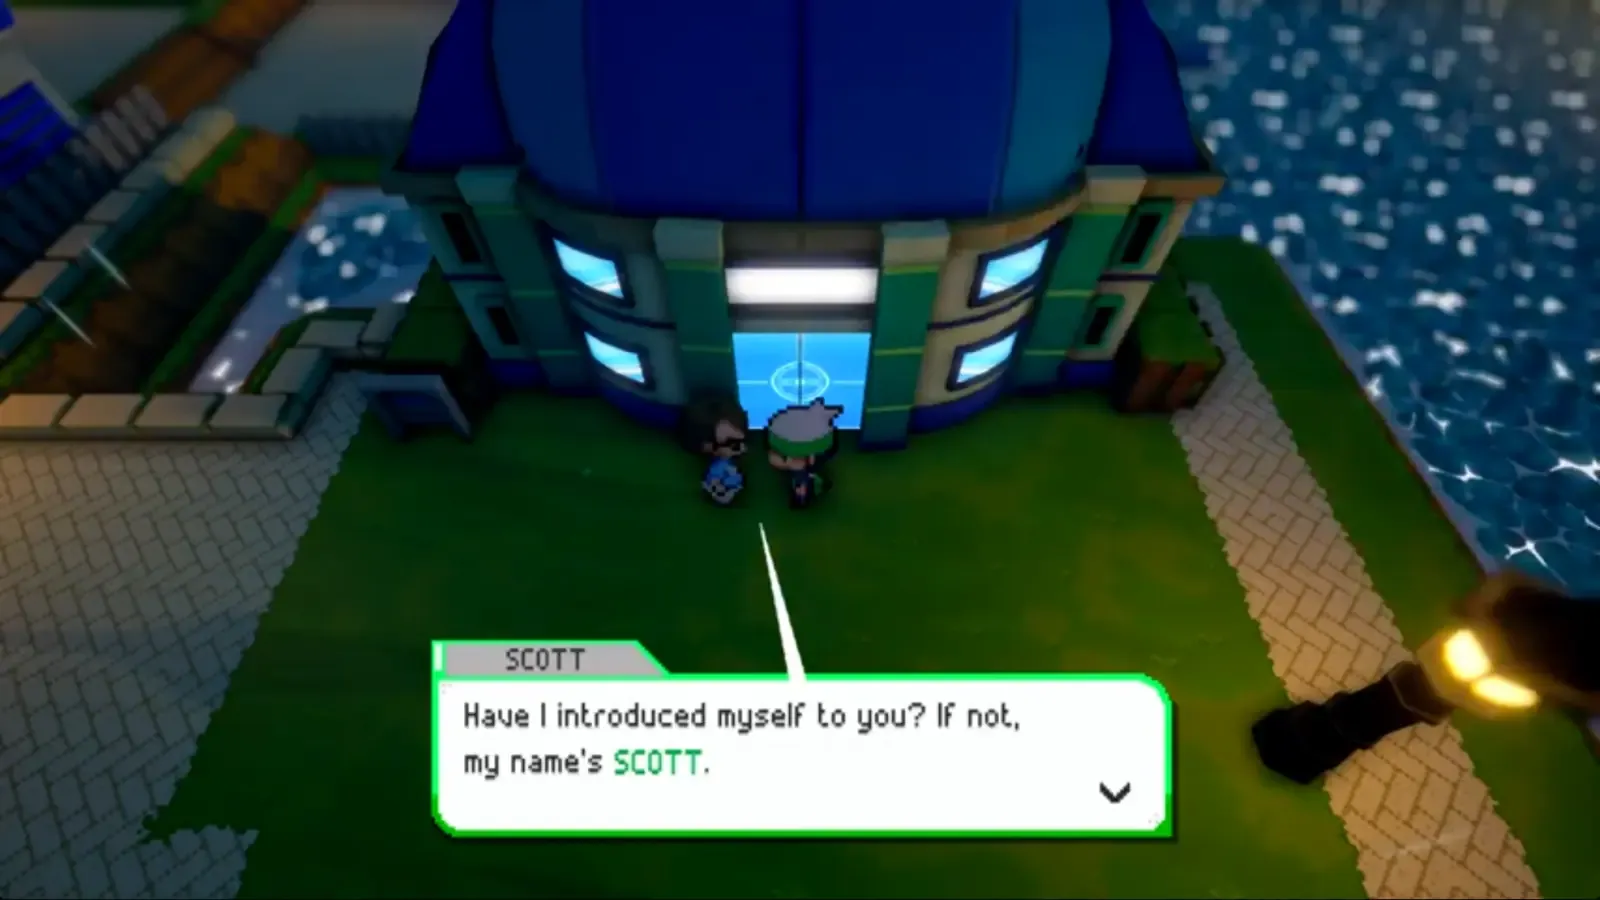
Outside, Scott introduces himself again and reacts to the Aqua incident. Finish his conversation, then heal and restock. The next Gamma Emerald-specific boss is beside the eastern waterfront, close to the Shipyard where this part began.

| Item | Qty. | Where to get it |
|---|---|---|
| TM46 Thief | 1 | From the familiar Team Aqua Grunt on Oceanic Museum 1FSpeak to him after the Archie scene |
Lucious at the Slateport Waterfront
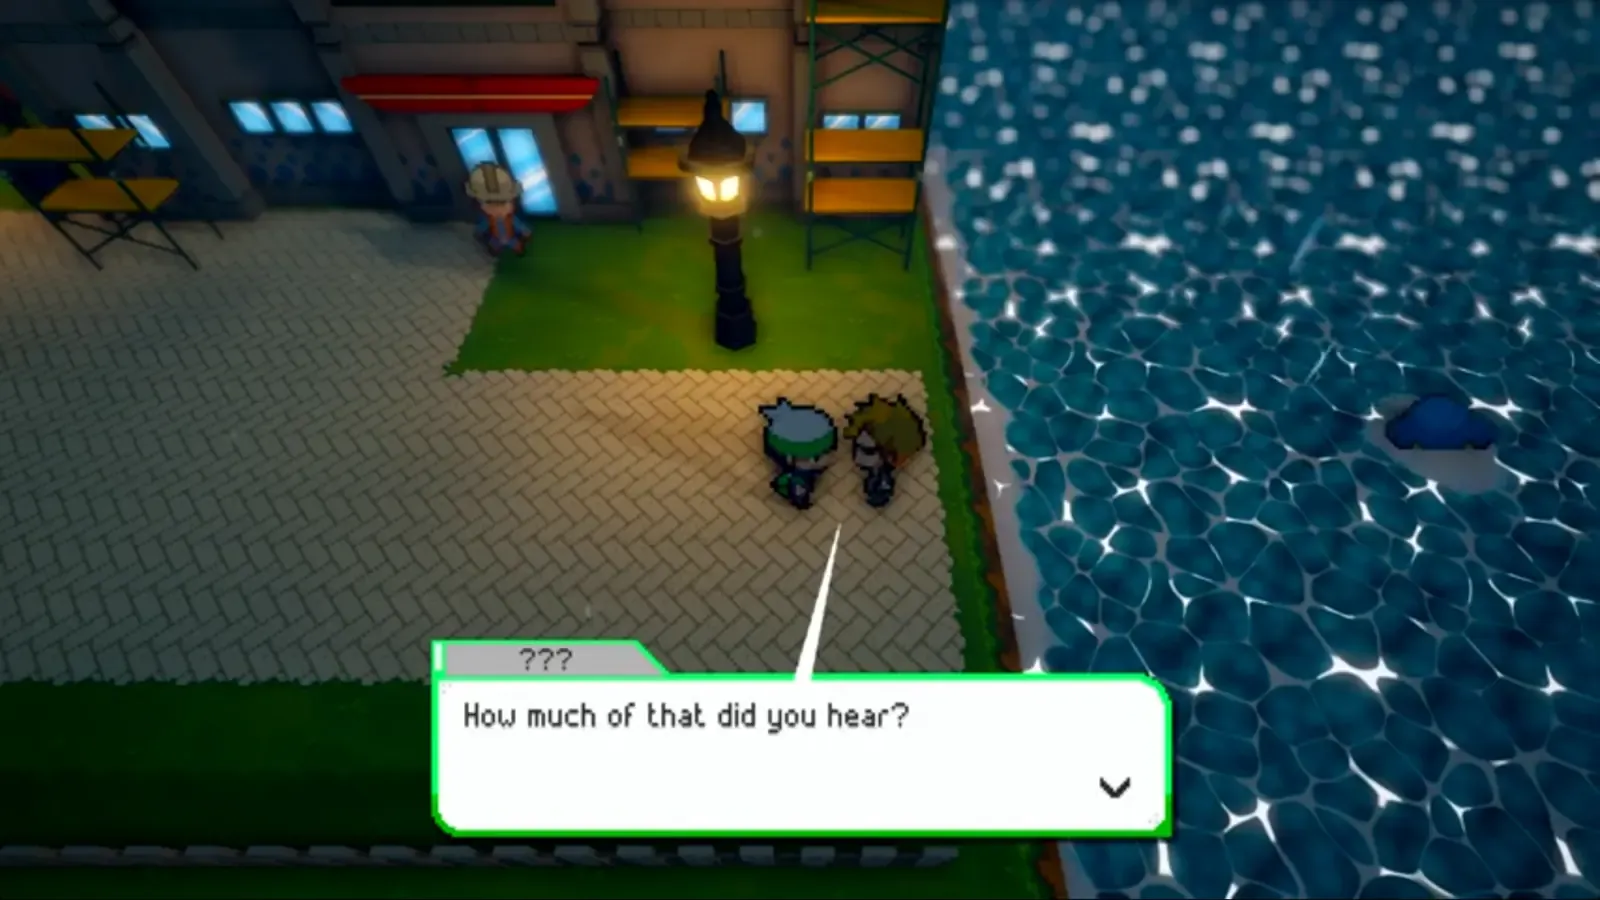
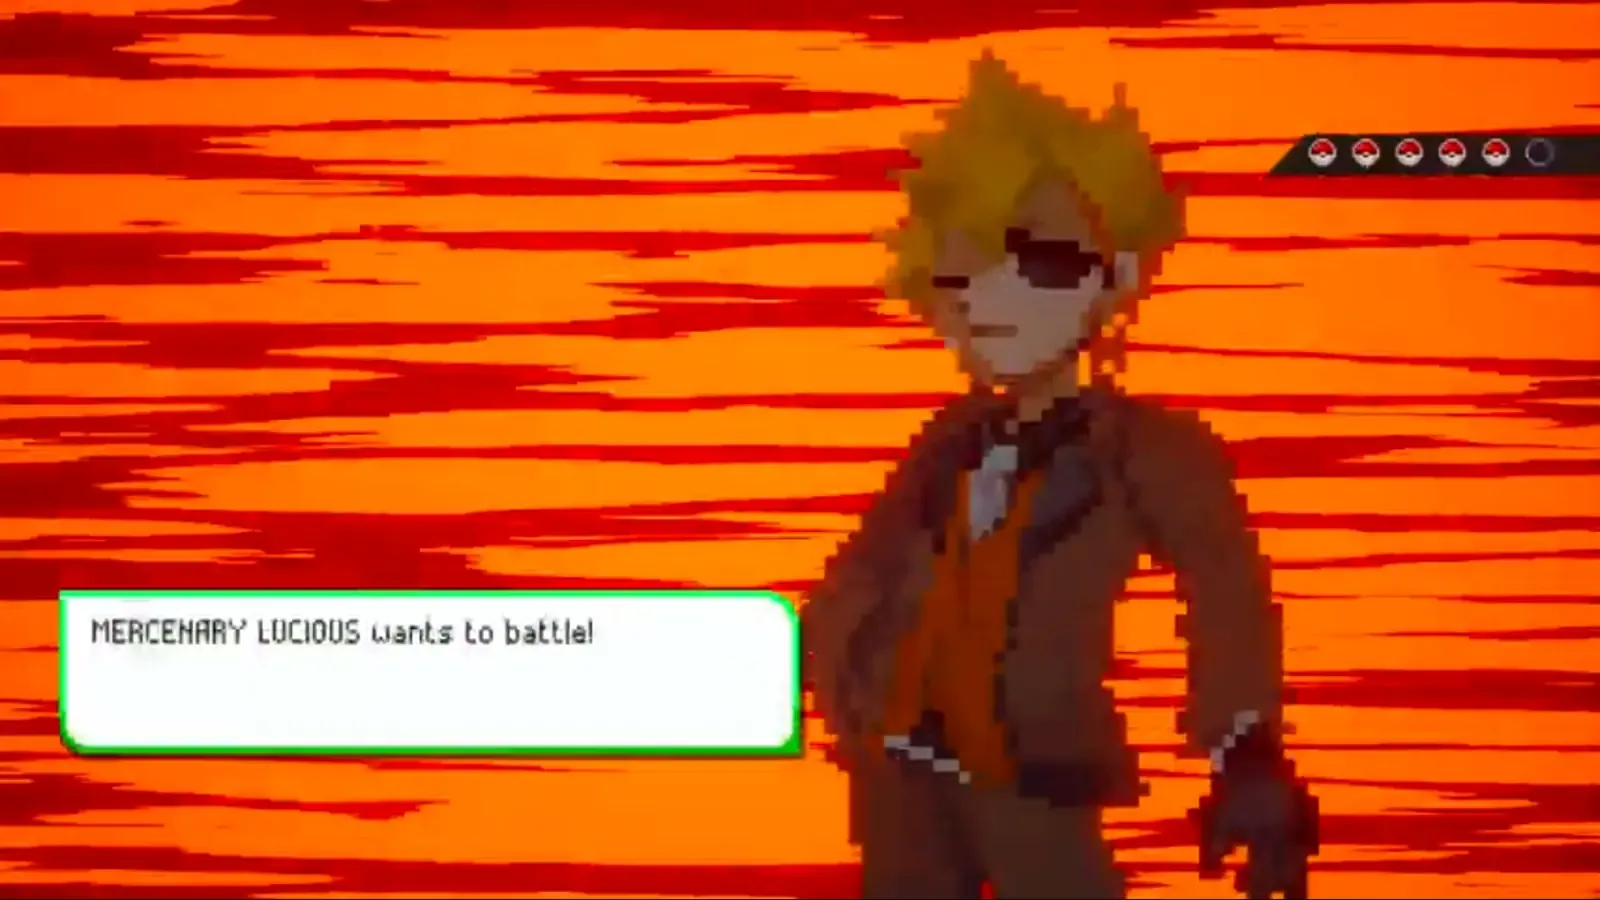
Approach the eastern waterfront beside the Shipyard after the Museum sequence. Lucious stops you near the water, asks how much of the earlier conversation you heard and introduces himself as the Sovereign of the Red Oath and Warden of the Ashen.
This encounter is unique to Gamma Emerald and is much stronger than the nearby trainers. Save before walking into the introduction, heal the full team and bring enough items to recover through a five-Pokemon battle. Do not start with only the counter you used for Team Aqua.
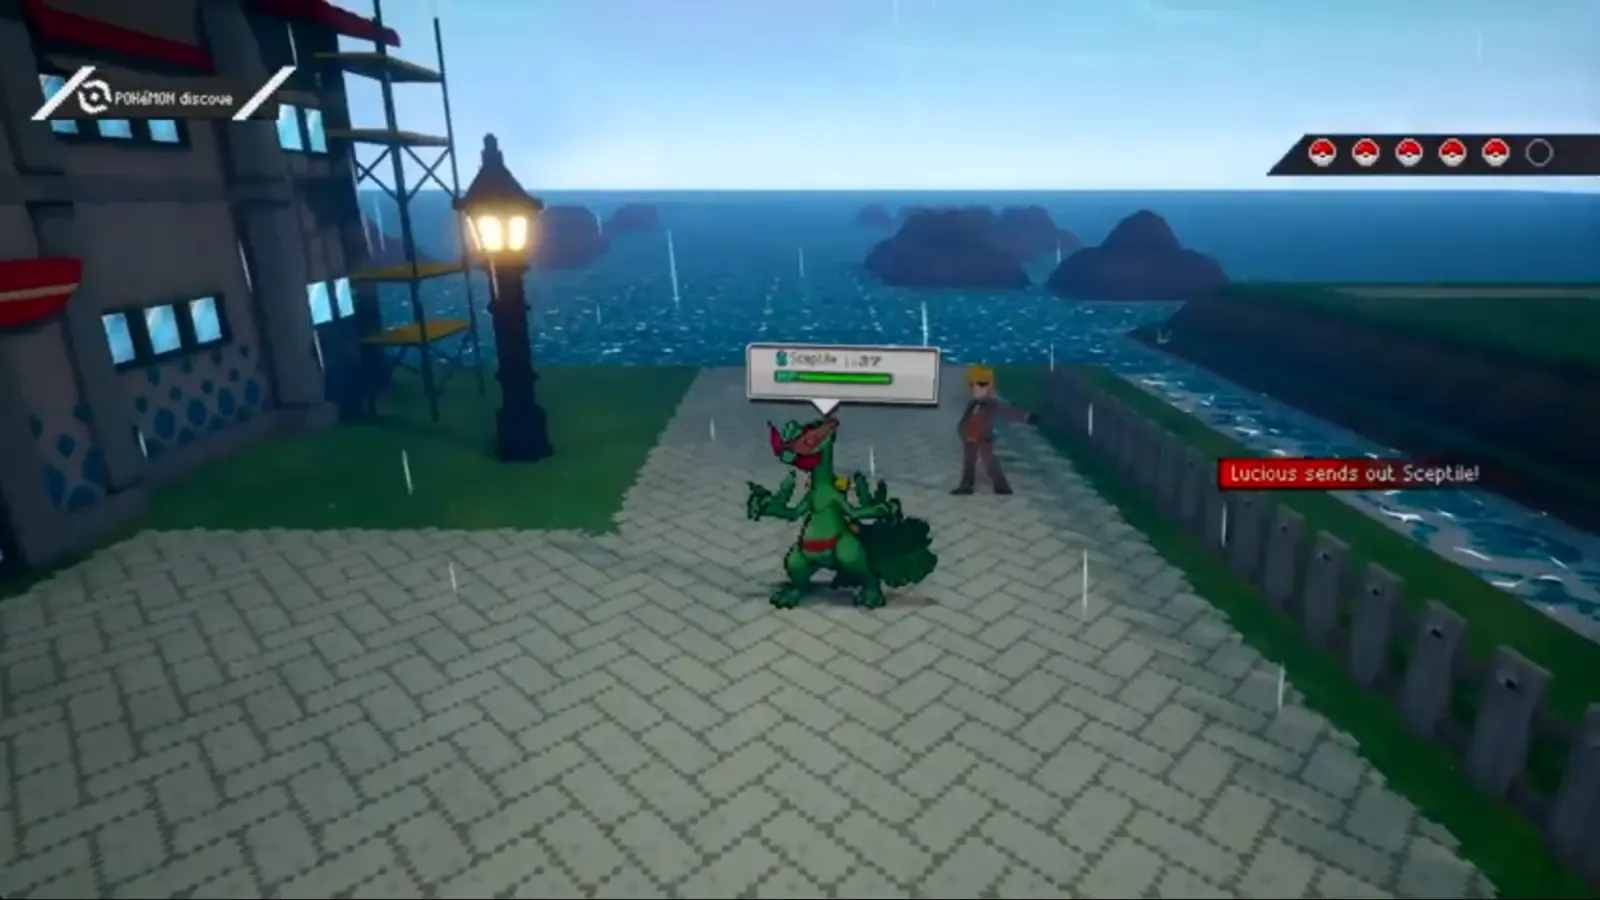
Lucious battles with five Pokemon and sends out a level 37 Sceptile. Keep a Fire-, Flying-, Ice- or Bug-type answer healthy for Sceptile, but do not build the whole team around a single matchup.
Route 110
After Lucious, heal in Slateport and leave through the north gate. Route 110 runs under the raised Cycling Road, which is not available until you obtain a bike. Stay on the lower path and work through the trainers beside the water.
The blue-roofed Trick House stands on the western side before the route narrows toward Mauville. A separate branch also leads west to the eastern half of Route 103; that side route contains Mio, the optional Gamma Emerald boss covered at the beginning of Part 5.
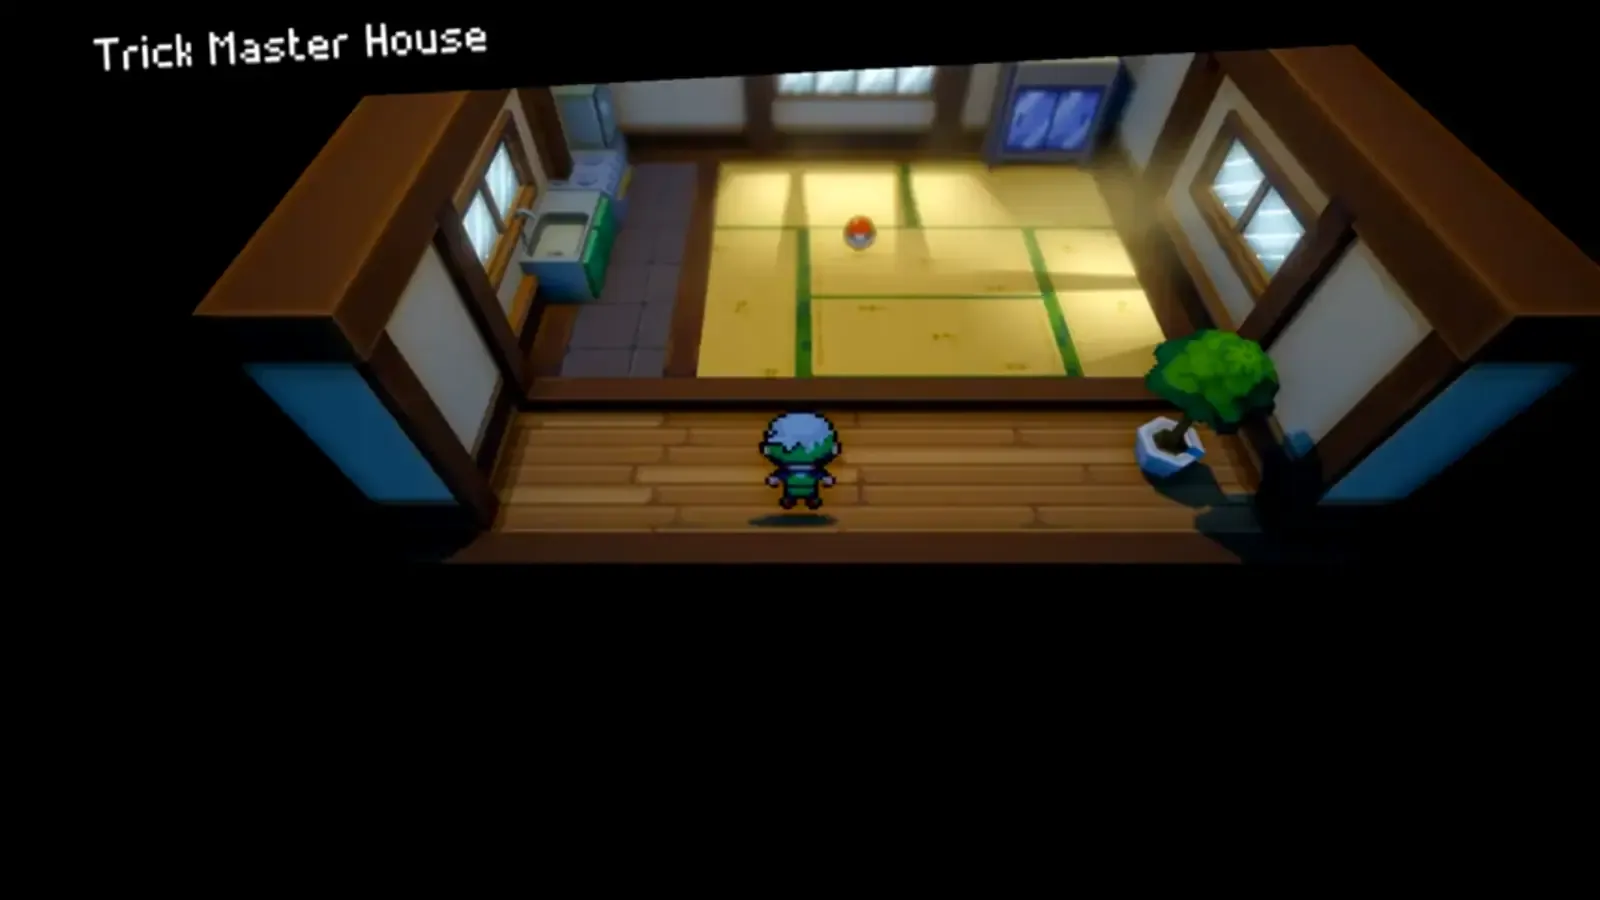
The Trick House
Enter the house and inspect the suspicious spot in the first room to reveal the Trick Master. Accepting the challenge opens the concealed route into the first maze. Search the maze for the scroll, use it at the exit and speak to the Trick Master in the final room for the reward.
The first challenge provides extra trainer battles and a Rare Candy. It remains optional: leave the house and continue north on Route 110 if you only want the required route to Mauville.
| Item | Qty. | Where to get it |
|---|---|---|
| Rare Candy | 1 | First Trick House challengeOptional reward |